Roblox R6 Mesh Modding
A guide for customizing your R6 character with mesh mods using Bloxstrap. Pretty straightforward once you get the hang of it.
Read this before you do anything
This might get you in trouble with Roblox. Using tools that modify the Roblox client can trigger their automated moderation. You could get warnings, temp bans, or even a permanent ban.
- Roblox's stance: They can take action if they detect a modified client.
- Bloxstrap: Its devs say it's just a launcher, not a patched client, but people have still reported getting flagged.
- Bottom line: You're doing this at your own risk. I'm not responsible if something happens to your account.
Heads Up
If you can't figure it out, its a genuine skill issue.
Prerequisites
Before you start, make sure you've got these ready:
Windows 10 or 11
This guide is Windows-only
7-Zip or WinRAR
You'll need one of these to extract the mod files
Bloxstrap
The launcher that makes mods work. Grab the latest release here
500MB Free Space
Enough room for the mod files and installation
Download R6 Mods
Pick a mod pack below. They're all tested and work with Bloxstrap.
Verify to Download
Complete the check below to unlock the download links.
Waiting for verification...
Reality Women Pack
PopularA solid collection of female character meshes with good textures. Most people start with this one.
More Bodypart Meshes PLUS
ExtendedExtra body part options if you want more variety. Good for mixing and matching with other packs.
Step-by-Step Installation
Before You Start
Make sure Roblox is fully closed. If it's still running in the background, close it before going any further.
Install Bloxstrap
Download Bloxstrap from the official GitHub releases page and run the installer. Just follow the prompts, nothing complicated.
Navigate to Mods Folder
Open Bloxstrap, head to the Mods section, and click "Open Mods Folder" to get to the right directory.
C:\Users\USERNAME\AppData\Local\Bloxstrap\Modifications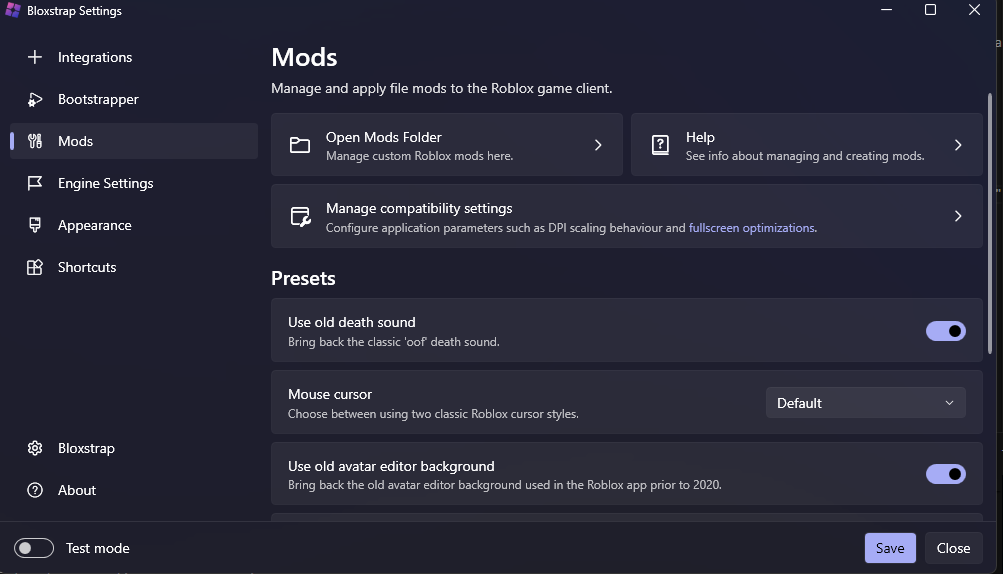

Create Folder Structure
- Open the Modifications folder
- Create a new folder called
content - Open
content, create a new folder calledavatar - Open
avatar, create a new folder calledmeshes
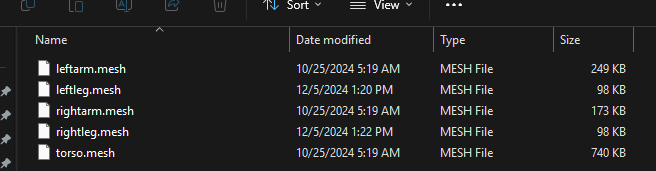
When you're done, it should look like this:

Install Mesh Files
Extract the mod pack you downloaded and drop the .mesh files into that meshes folder.
Launch Roblox via Bloxstrap
Always open Roblox through Bloxstrap so your mods actually load. Once you're in, check your avatar editor to see the changes.
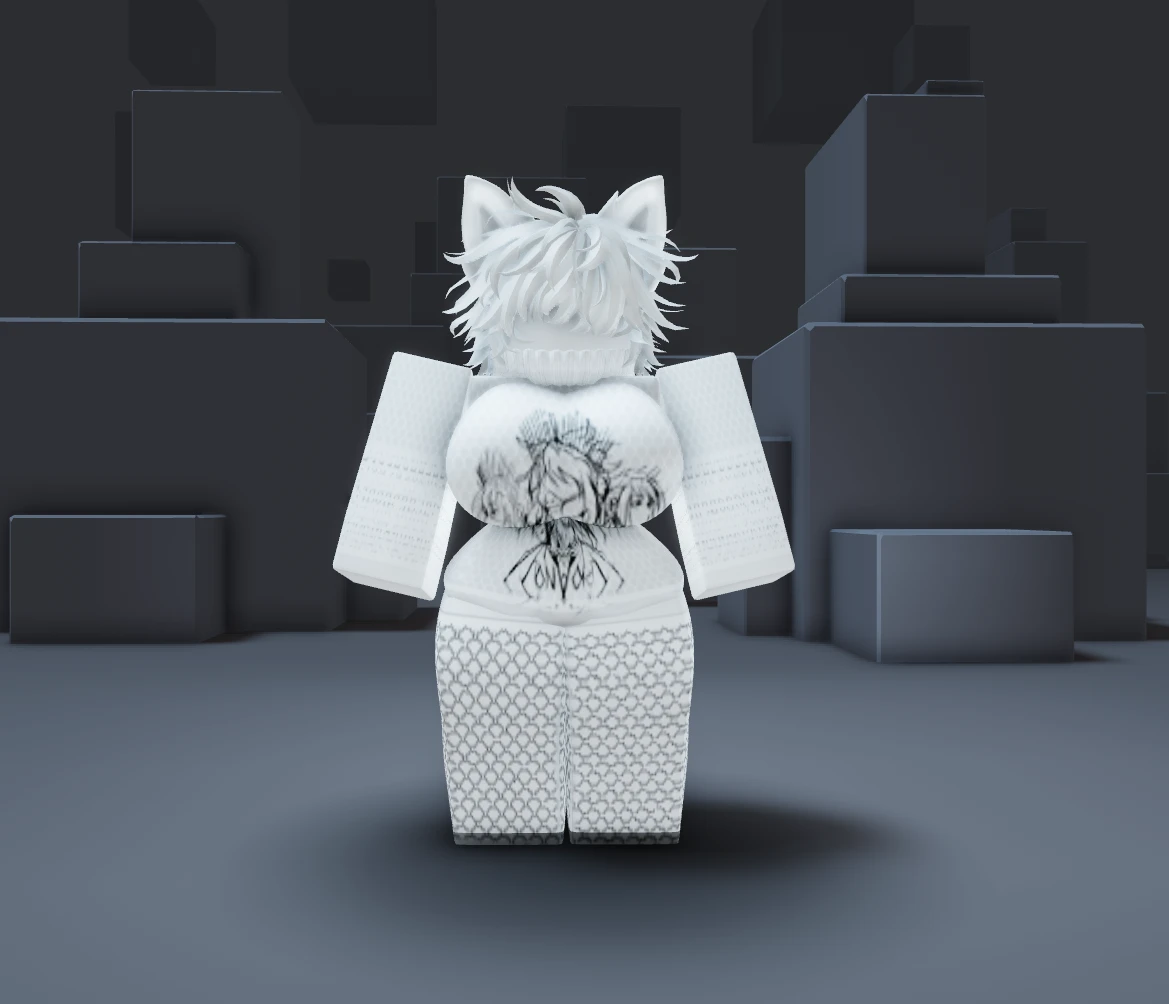
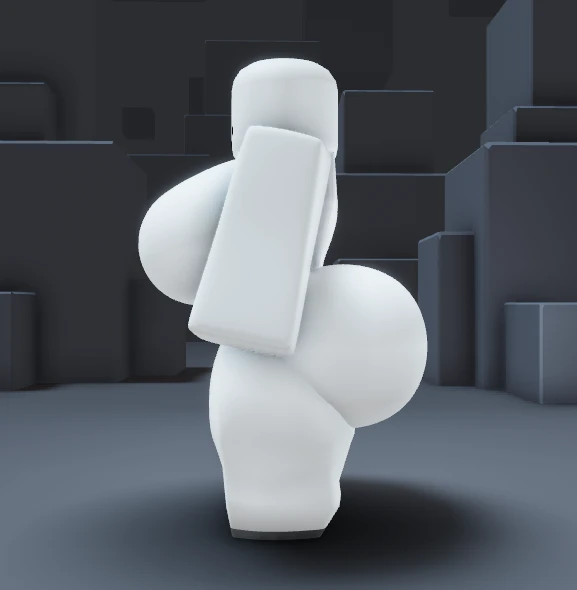
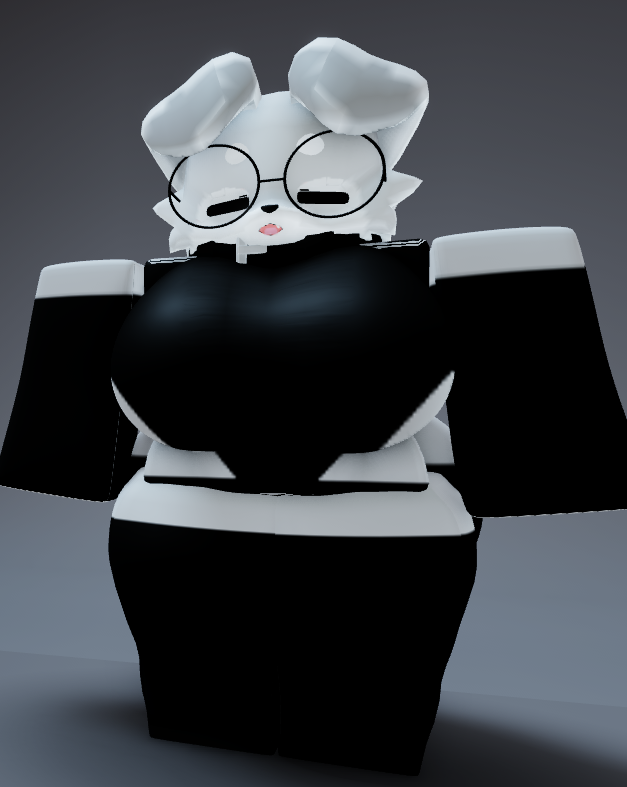
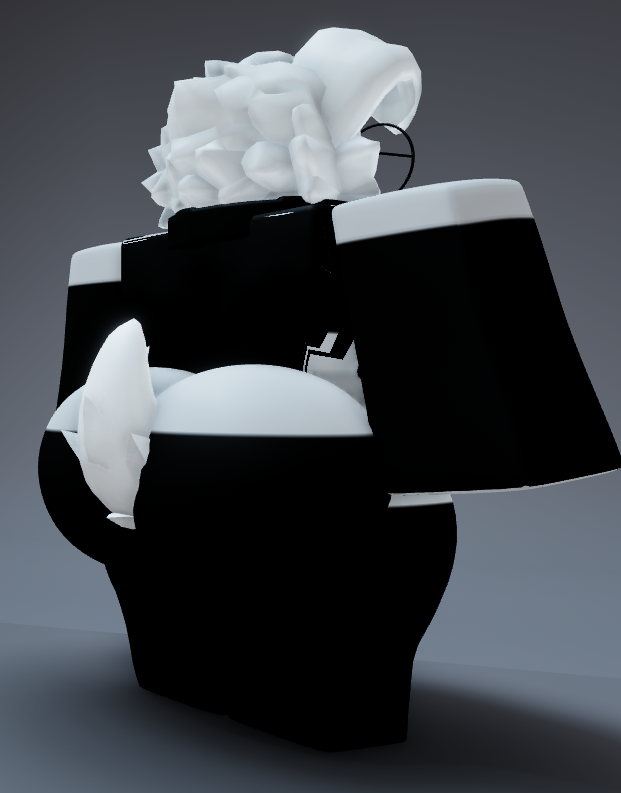
What to Expect
If everything went right, your avatar should look different when you join a game. Here's what it looks like:
Good to Know
Only You Can See It
These mods are client-side only. Other players see your normal avatar, not the modded one.
Updates Can Break Things
When Roblox pushes an update, your mods might stop working. Just reinstall the mesh files and you're good.
R6 Only
This only works with R6 avatars. R15 mesh modding isn't a thing right now.
Start Simple
Try one mesh file first to make sure it works before going all in. Easier to troubleshoot that way.
Don't Get Discouraged
It might take a couple tries to get everything working. Totally normal.
Mix and Match
You can use meshes from different packs together to make your own combo.